Load management
When installing Charge Points into a site whether it is a new construction site or an upgraded site, Charging Load Management is often needed. The reason for this is that either is too costly to equip the site with electrical infrastructure to feed all Charging Points with their build-id capacity simultaneously. This is especially true of brownfield sites, where electrical renovation would likely affect other operations on the site as well.
Load management can be enabled on a site-level, where it follows the same hierarchy as the site itself.
Load Management guarantees that the site's specified maximum current value is not exceeded by the Charge Points that are connected under the same site.
Our algorithm also gives the charging stations offline instructions in case the connection towards the charging point is for some reason lost. In this scenario, a single charge point will only charge with the specified default offline current. Our algorithm always monitors that either the parent group limit or subgroup limit on the max current is not exceeded.
Enabling Load management
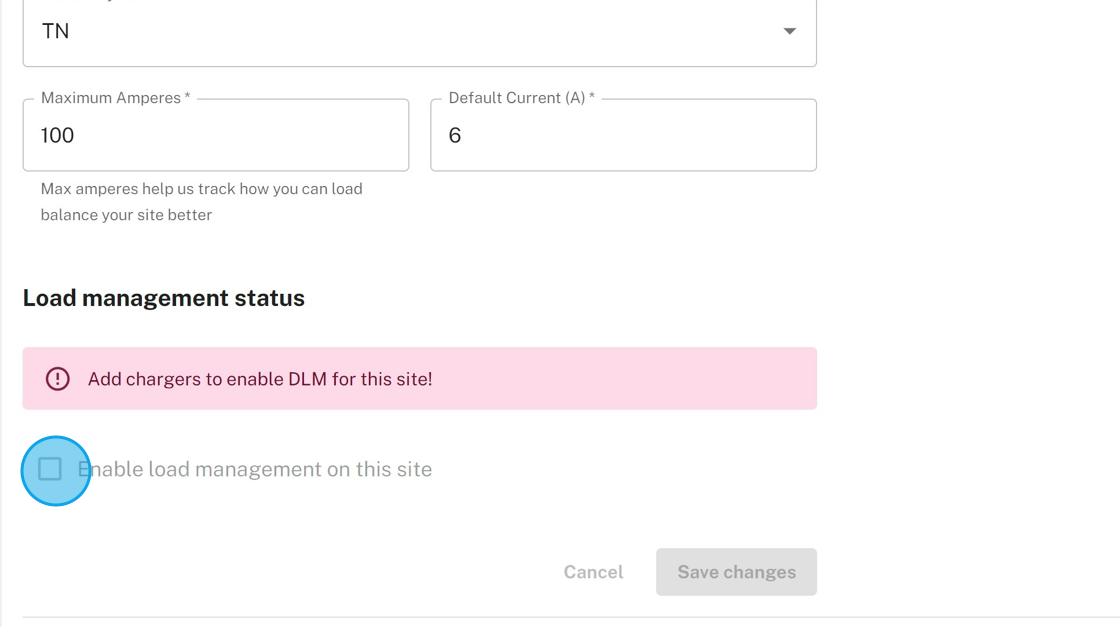
1. After navigating to the site you want to enable Load Management, the Load management settings are found under "DLM"
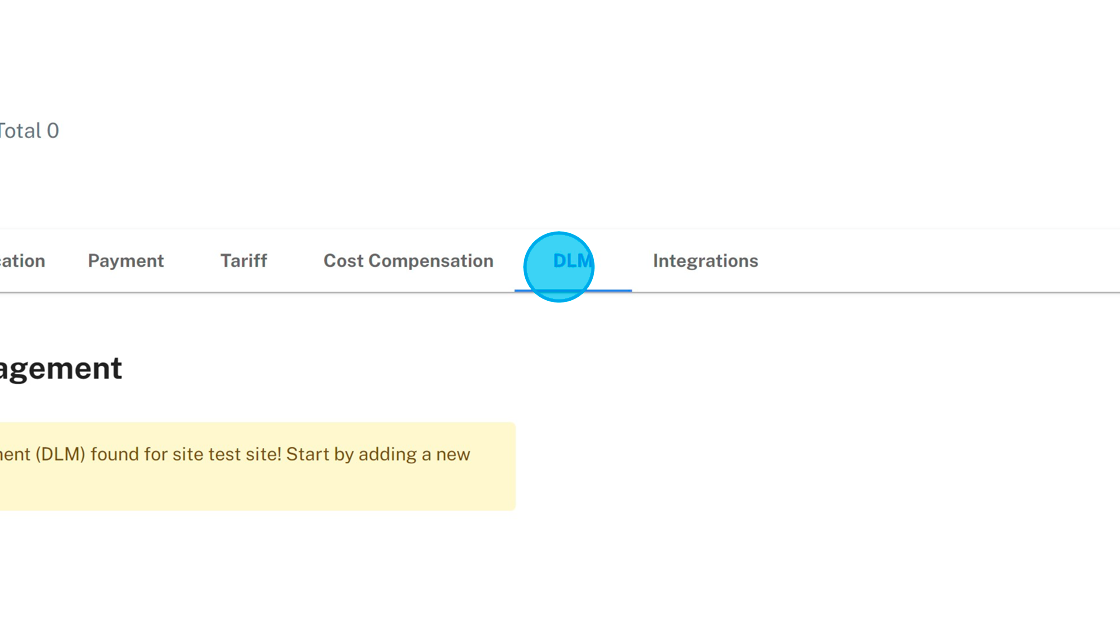
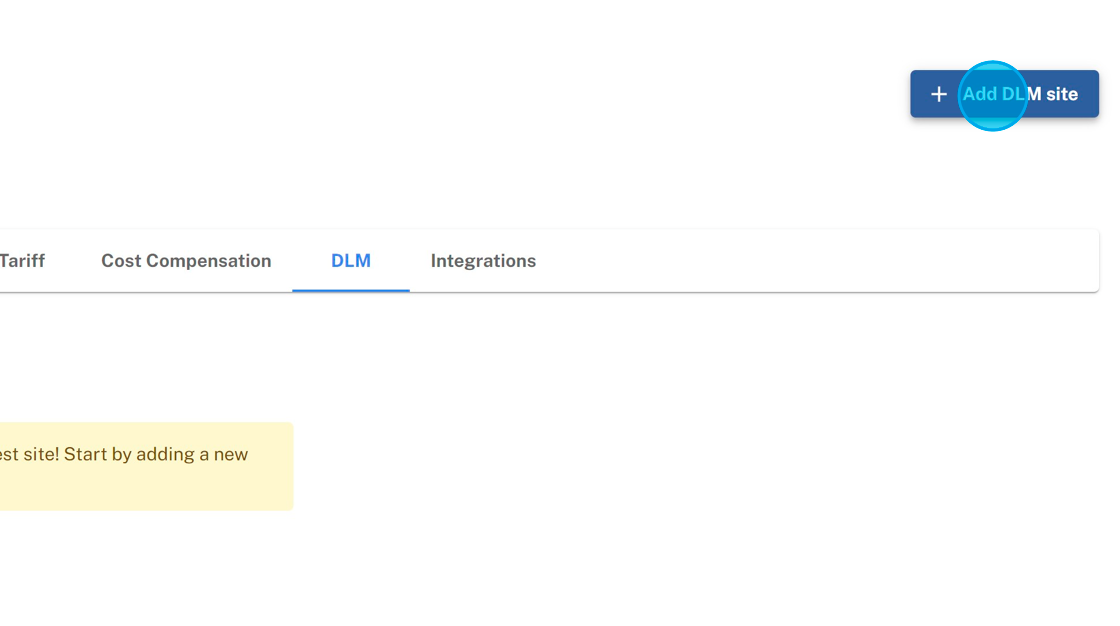
2. If DLM site isn't found for the site in question, you need to first add it.
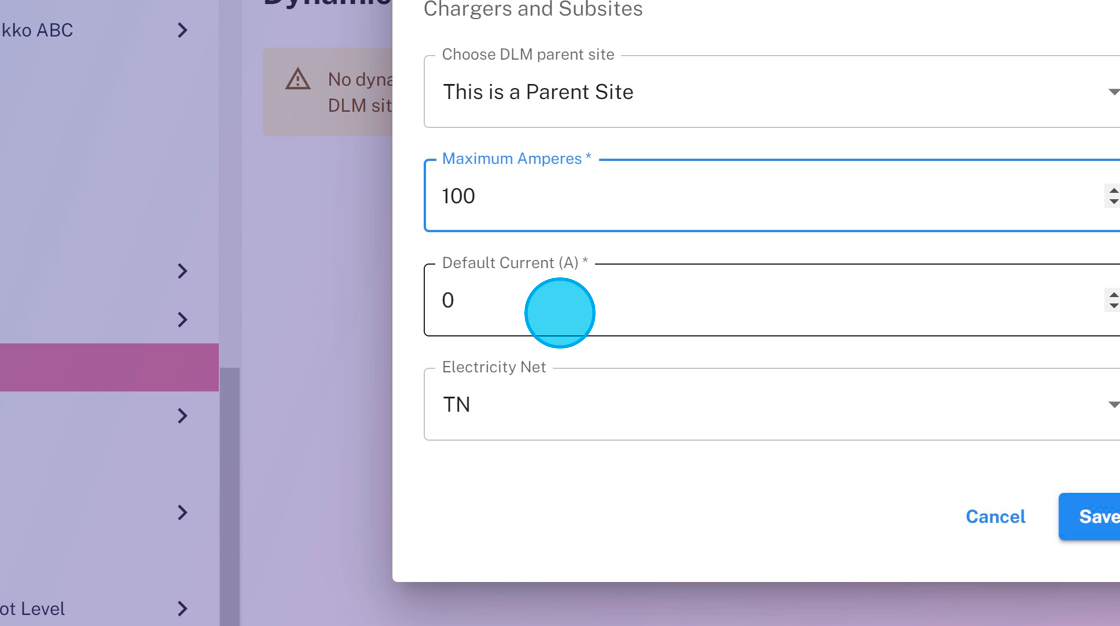
3. [[Load Management guarantees that the specified maximum amperes value is not exceeded by the Charge Points that are connected under the same group.]]
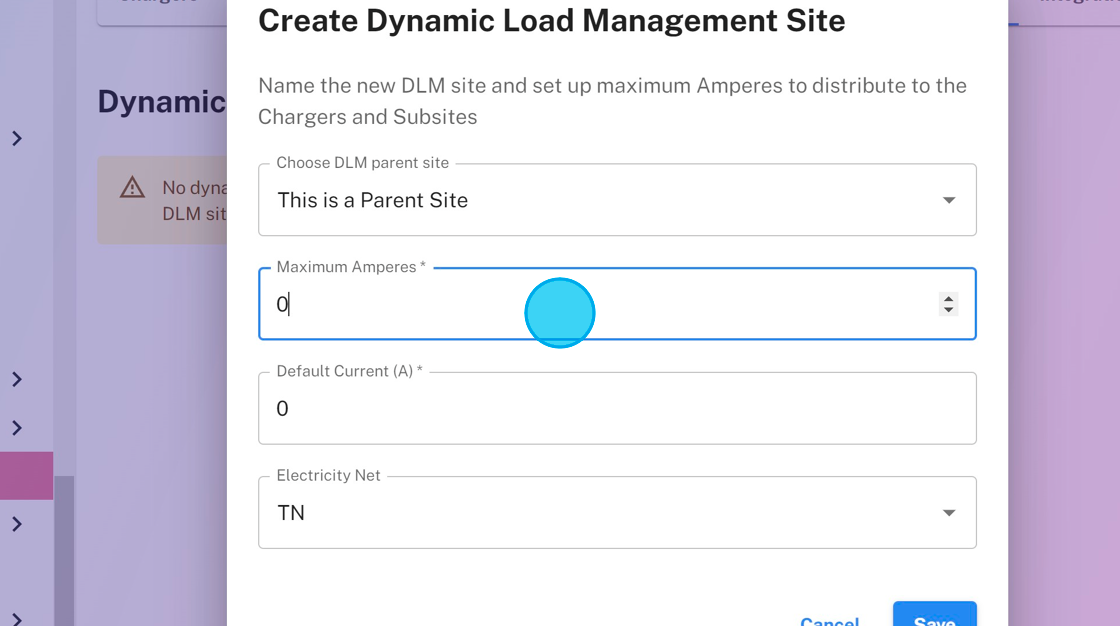
4. Our algorithm also gives the charging stations offline instructions in case the connection towards the charging point is for some reason lost. In this scenario, a single charge point will only charge with the specified default current.
5. If you have chargers connected to site and they are online, you can click "Enable load management on this site" to enable Load Management for the site.
Example case for Load Management
The following picture describes an example setup on our Load Management
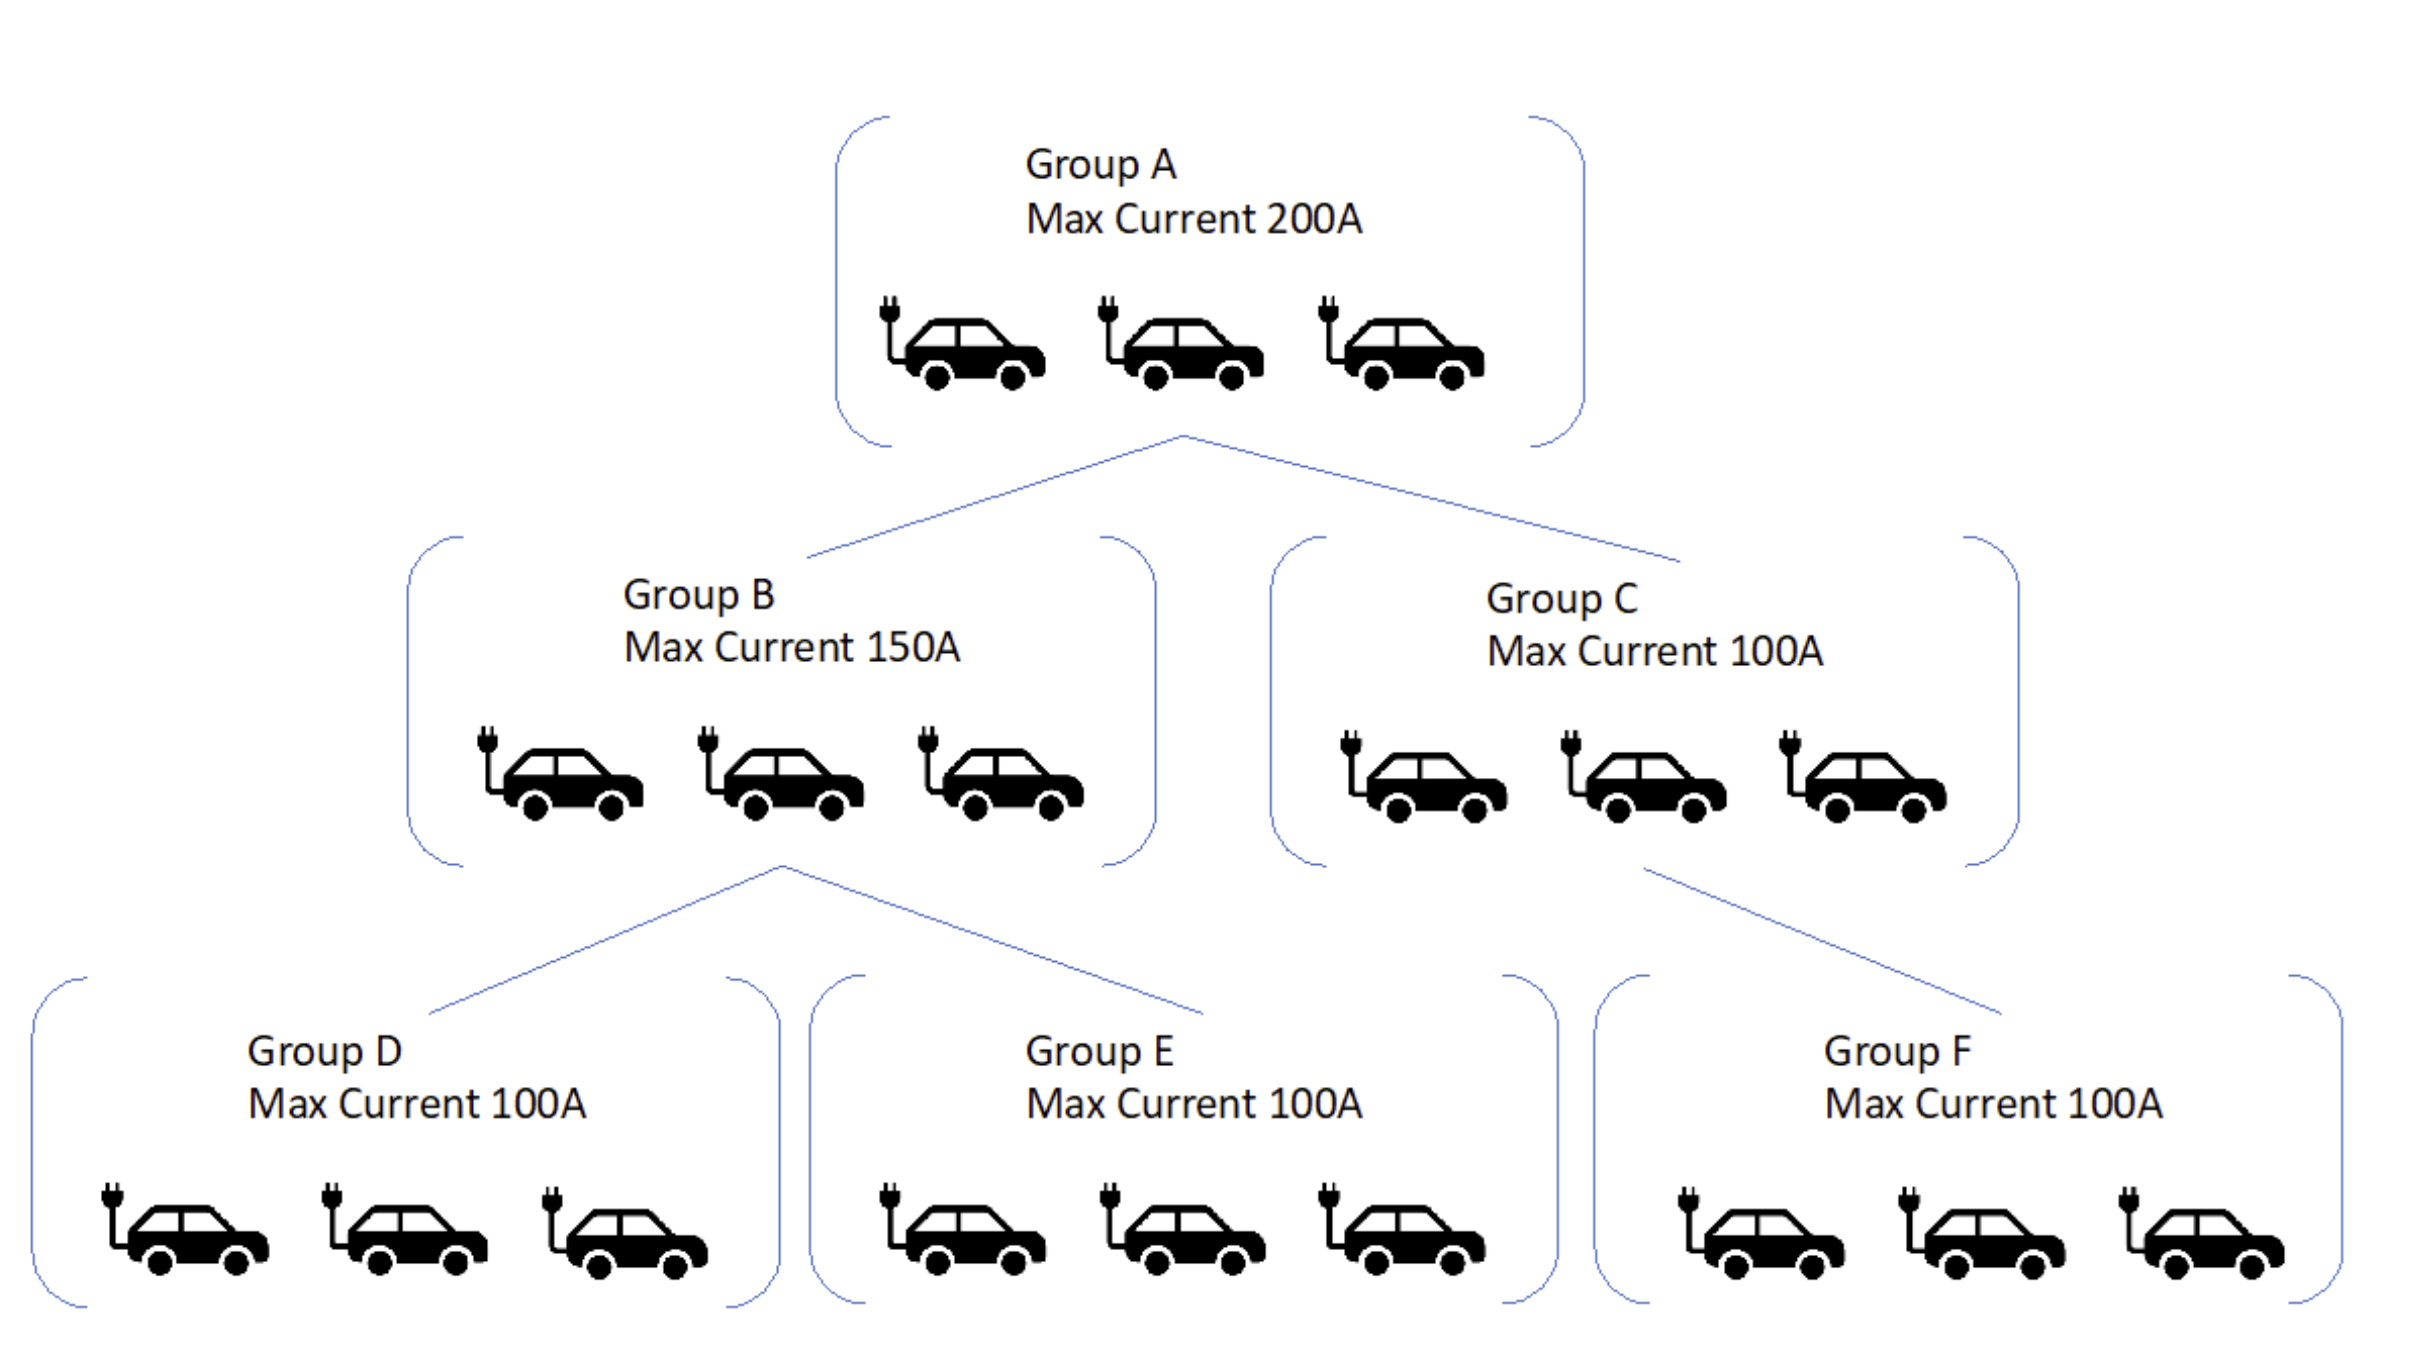
There can be several charging points installed in the same location but on different levels of the parking garage. In this setup the algorithm from eMabler works like this:
- If there is only consumption in Group D and no other groups. Cars connected to chargers in Group D get a total maximum of 100A
- If there is consumption in both Groups D and E the limiting factor for maximum consumption comes from their parent Group B. Groups D and E cannot exceed 100A on their own but also their combined consumption will not exceed 150A
- If there is consumption in Groups E, D and B the groups cannot exceed their own maximum, but the total maximum is Group A and its 200A
- The same goes if there is consumption in groups C and F where the maximum comes from Group A 200A (which would not be exceeded anyway as C and F already have a 100A limit)
- If there is only consumption in group F or only in group C the maximum is that groups 100A
Cloud Load Management only works with Charge Points that support the OCPP 1.6 Smart Charging Profiles or with other proprietary charging devices that have an API to support similar behaviour.
The system also has a built-in capability to integrate on external metering devices that can be configured to lower the Load Management Groups Max Current value if a certain value is exceeded on the meter.
External metering
Sometimes it’s not enough to know the fuse size of an installation to safely allocate current to electric vehicle charging. This situation usually arises when the EV charging-related fuses are shared with other loads. As these other loads are not generally able to report their power consumption, an external energy meter can be added to a load management group to account for their power draw.
Any load management group can be fitted with an external meter, and threshold values can be set to reduce the power available to the chargers when needed.
Cloud-based external metering is best suited for situations where the additional loads in the circuit account for only a part of the total breaker capacity and where large changes in non-charging power consumption happen relatively slowly (in a matter of a minute, rather than a matter of under 1 second). Good use cases include multi-zone lighting and -heating or power outlets. Local, hardware-based load management is better suited for use cases like large motors with high inrush current.
Setting up external metering consists of the following steps:
- Network configuration to allow the meter to communicate with eMabler
- Meter configuration to enable sending of meter values to eMabler
- Installation of the meter to the site
- Creation of load management group (if none exists)
- Adding the meter to the load management group via eMabler UI
- Setting up meter behaviour with the desired load reductions and threshold levels.